Pool Shell Installation

Installing a pool shell takes roughly 2–3 weeks and involves excavation, levelling, crane placement, backfilling, plumbing, and finishing. The key to long-term success is precise base preparation, even backfilling, and professional handling of drainage and plumbing — shortcuts here can cause structural issues later.
When people picture getting a new pool, they imagine the crane lifting a shiny shell over the fence — that moment everyone films on their phone. But that’s just one piece of a much longer, more precise process.
Pool shell installation is equal parts engineering and craftsmanship. Get it right, and your pool will sit perfectly level for decades. Get it wrong, and even the best shell can shift, crack, or leak. Here’s what actually goes on behind the scenes — and what smart homeowners should look out for.
Key Takeaways
- Proper preparation matters most: Site access, soil testing, and precise excavation determine how well the shell will sit and perform over time.
- Average installation timeframe: Around 2–3 weeks from excavation to handover, though permits and weather can extend this.
- Backfilling and levelling are critical: Filling the pool and backfilling evenly prevents warping or shell movement.
- DIY is possible but risky: Professional installation protects warranties, ensures compliance, and reduces costly errors.
- Common pitfalls: Poor drainage, uneven base, and rushed bond beam work can cause cracks or misalignment later.
- Final checklist: Confirm plumbing pressure tests, fence compliance, and water-level alignment before signing off.
Before Installation: Site Preparation
Long before the truck arrives, the groundwork sets the tone.
- Site access – Can the crane reach? Is there room for delivery trucks? Obstacles like fences, powerlines, or narrow gates often need addressing weeks in advance.
- Soil testing – This isn’t red tape — it’s your insurance. Clay, rock, or sandy soil all require different support under the pool.
- Excavation marking – The pool is positioned, levelled, and measured down to the millimetre. The “pool team with the spray paint” moment matters more than you think.
- Permits & compliance – Council approval and engineering sign-offs must be secured before digging starts.
💡Expert insight: Rushing through this stage to “get the shell in faster” is a classic rookie mistake. The best installers spend more time on prep than the actual dig — because once you start excavating, you’re committed.
If you’re still exploring which design or size is right for you, take a look at our fibreglass pool shells before diving into installation.
Step-by-Step Fiberglass Pool Shell Installation Process
Installing a pool shell is like building a house in reverse — the foundation comes last. Here’s how it unfolds.
1. Excavation
The dig follows exact depth and shape specifications for the chosen shell. Good excavators remove only what’s needed and keep the base undisturbed for stability. Excessive over-digging can lead to uneven settling later.

2. Base Preparation
A layer of crusher dust or sand (usually 100–150mm) is laid and laser-levelled to create a stable, even foundation. Water drainage and compaction are crucial — this base supports tens of thousands of litres of water.

3. Crane Lift & Shell Placement
This is the dramatic part — the shell arrives by truck and is lifted over the property by crane. Installers check alignment, levels, and shell positioning before setting it down. Even a few millimetres off at this stage can create issues with paving or waterline later.
💡Pro tip: Ask your installer to show you the spirit level check once it’s placed — it’s your peace of mind.

4. Backfilling
Once the shell is in place, backfilling begins with crusher dust or pea gravel, compacted in layers as the pool fills with water. The key is to fill the pool and backfill evenly to balance internal and external pressure.

5. Plumbing & Filtration
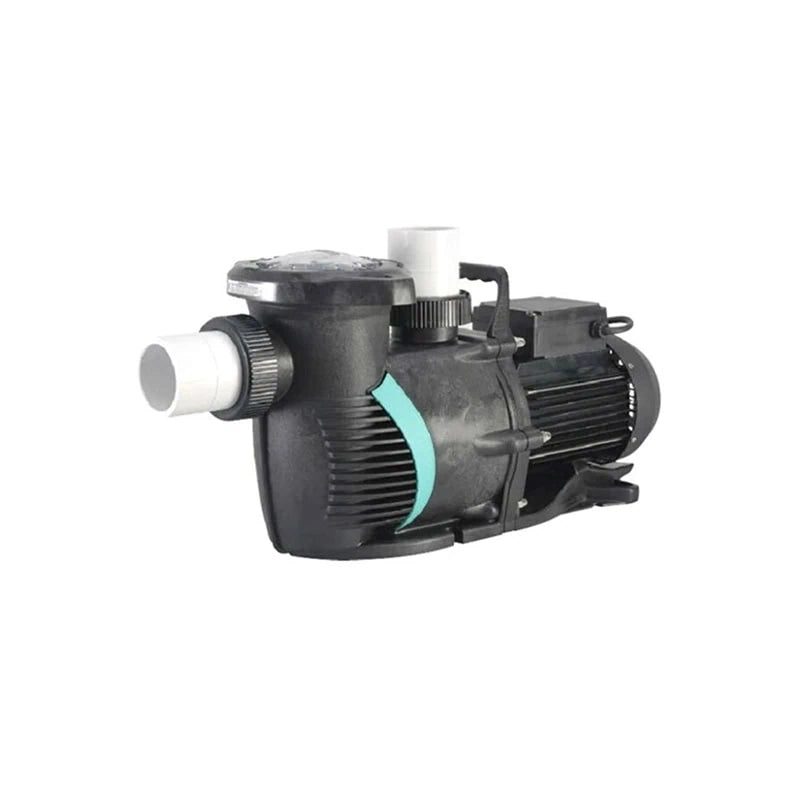
All suction, return, and skimmer lines are installed, connected to the pump and filtration system. At this stage, good installers pressure-test every line to catch leaks before finishing.

6. Bond Beam
A concrete bond beam is poured around the top of the shell to lock it in place. It ties the pool shell, coping, and surrounding surface together — preventing shifting or separation over time.

7. Coping Tile
Coping is the trim edge — either stone, concrete, or pavers — that finishes the pool rim. It’s both aesthetic and functional, sealing the pool edge and setting up the final look.

8. Finish
Once coping cures, decking, fencing, and final clean-up follow. The pool is then ready for filling, equipment calibration, and handover.

Timeframe: How Long It Takes
Fibreglass pool installations are known for speed, but “quick” doesn’t mean “rushed”.
- Site preparation: 1–3 days
- Excavation & shell placement: 1–2 days
- Backfilling & plumbing: 2–3 days
- Bond beam & coping: 3–5 days
- Final finishes: 1–2 weeks (depending on paving, fencing, landscaping)
Average total time: 2–3 weeks for straightforward installs; up to 4–5 weeks for complex sites or weather delays.
💡Expert note: Always factor in approval lead times — permits can take longer than the build itself.
DIY vs Professional Pool Shell Installation
Yes, you can install a fibreglass pool yourself — but only if you have excavation experience, access to heavy machinery, and a strong understanding of plumbing and backfilling techniques.
DIY advantages:
- Cost savings on labour (up to $10k–$15k)
- Full control over schedule and trades
DIY risks:
- Mistakes in base levelling or backfill can void manufacturer warranties
- Insurance and compliance become your responsibility
- Small miscalculations can lead to expensive structural issues later
💡Expert opinion: If you’re confident with machinery and permits, DIY kits can work. But for most homeowners, professional installation is worth every cent for peace of mind and warranty protection.
Common Mistakes to Avoid
- Skipping soil testing — leads to shifting or cracking.
- Uneven backfilling — can warp the shell.
- Poor water balance during fill — creates pressure imbalance and bulging.
- Rushing the bond beam pour — can cause coping to separate later.
- Not planning for drainage — water around the shell base is the silent killer of fibreglass pools.
💡Pro tip: The biggest “invisible” mistake is letting inexperienced contractors handle backfilling. It’s a technical process, not grunt work.
Post-Installation Checklist
Before you take your first swim, tick off these essentials:
✅ Water and shell levels are perfectly aligned
✅ Plumbing and filtration tested for leaks
✅ Electrical safety certificate issued
✅ Fencing and barriers compliant with council regulations
✅ Equipment warranty cards and manuals provided
✅ Surface and edges inspected for scratches or chips
💡Expert advice: Take photos of everything before paving or landscaping — especially plumbing lines and equipment connections. You’ll thank yourself years later if you ever need maintenance or upgrades.

Fiberglass Pool Shell Installation: Know the Process
Installing a pool shell is precision work that blends engineering, timing, and craftsmanship. When every stage is done right, you get a perfectly level, watertight, long-lasting pool.
Whether you’re managing the project yourself or hiring professionals, knowing the process helps you spot quality work (and shortcuts) instantly.
Need expert help or a trusted installer? Pool Tools can guide you through every step of your pool shell installation — from preparation to your first swim.

Pool Tools Team
We’re here to share expert advice, practical tips, and clear guides to help you choose, build, and maintain your pool with confidence. From fibreglass shells to everyday equipment, we make pool care simple.

